Processing a heavy garden harvest should not mean clogging your kitchen sink with soil or wasting gallons of clean tap water. Bringing freshly pulled root vegetables indoors creates a massive mess. Washing them wastes water that your garden desperately needs. It makes your floors muddy. It fills your indoor trash with scraps.
But there is a better way. You can build an outdoor processing area. This space catches rainwater. It cleans your vegetables. It routes nutrients right back into the soil. You will learn exactly how to build this closed loop system today.
Creating a zero waste harvesting station solves these problems. It keeps the mess outside. It saves your tap water. These self sufficient garden ideas turn waste into food for your plants. Processing food becomes easy and clean. By the end of this guide you will know how to set up your own outdoor wash space.
What is a Zero Waste Harvesting Station?
A zero waste harvesting station is an outdoor processing hub. It combines a washing sink, a water catchment, and a compost drop. This physical structure matches the permaculture philosophy of producing no waste.
David Holmgren helped create permaculture. His sixth principle states we must produce no waste. This station does exactly that. Greywater feeds the garden. Organic matter goes straight to compost. You use zero single use plastics.
The design is simple but highly effective. Axiom 2026 Gardening Outlook reports that 64 percent of gardeners plan to expand their planting space in 2026. This means more harvests. You need a way to process all that food efficiently.
A permaculture harvest setup handles this volume easily. You will not feel overwhelmed by huge piles of dirty carrots. The station gives you a dedicated workflow.
You clean the food outside. The waste stays outside. Everything cycles back into the earth. This setup creates a perfect loop of nutrients and water.
Essential Components of a DIY Garden Wash Station
You need a few basic parts to build this system.
- A reclaimed stainless steel sink. It is easy to clean and resists the weather.
- Water source. You need 55 gallon food grade rain barrels.
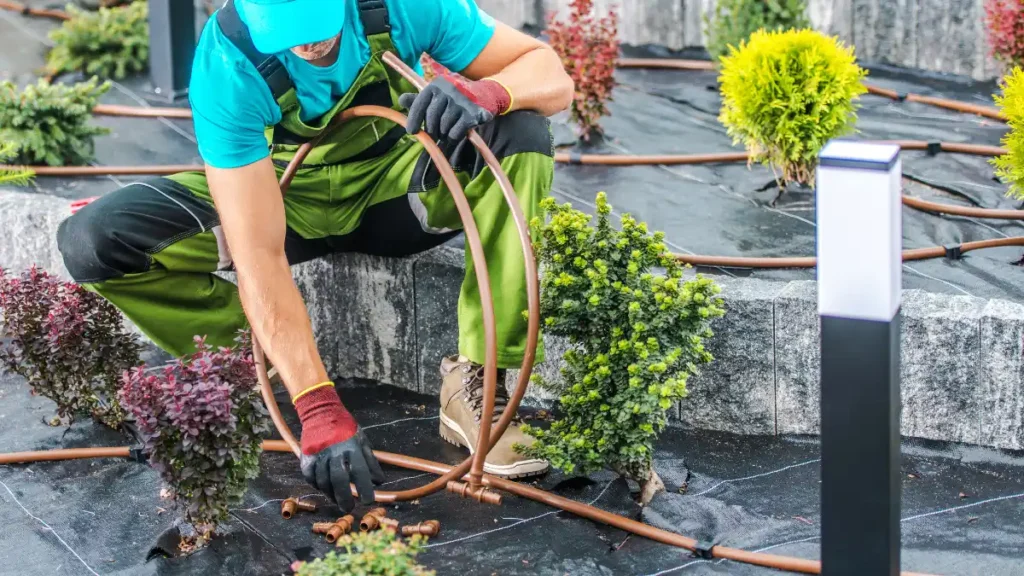
- Greywater routing. You will use PVC or flexible tubing to send wash water to a mulch basin.
- Compost integration. You need a designated chute or bin for immediate scrap disposal.
- Filtration. Add a ceramic sheath filter if you want drinking quality water.
These parts all work together. The barrel feeds the sink. The sink feeds the compost and the soil. Let us put these pieces together for your DIY garden wash station. 55 gallon barrels are the most cost efficient choice.
People often reuse them after they hold food products like olives or syrups. You can find them cheap on local market apps. Stainless steel sinks are also easy to find secondhand. Home remodeling projects constantly discard perfectly good metal sinks.
Flexible tubing is better than rigid PVC for your drain. It lets you move the water flow to different trees easily. A good chute directs your scraps right into the compost bin. This setup requires very little new plastic. You build it mostly from reclaimed materials.
Step 1: Setting Up the Rainwater Catchment and Sink
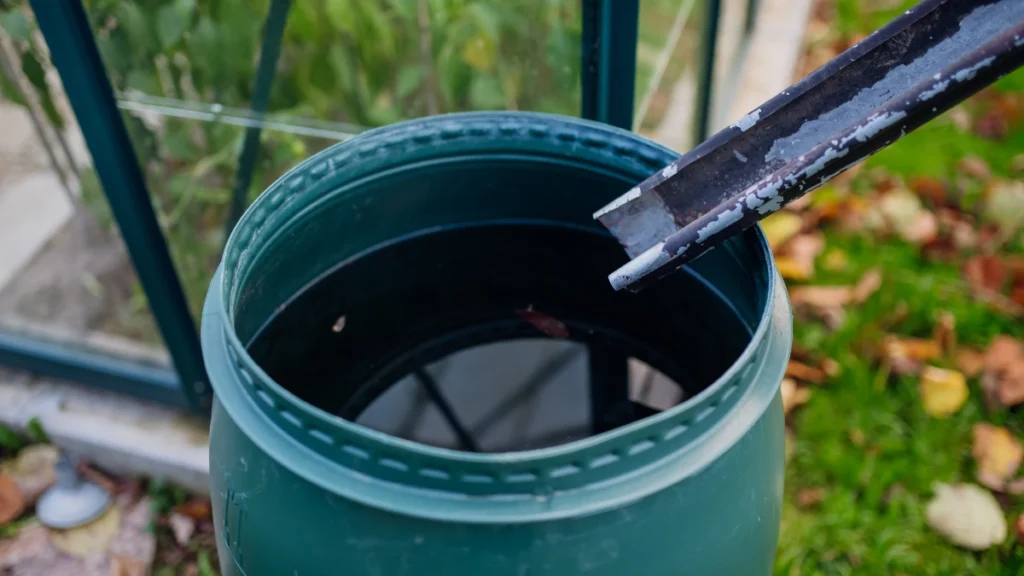
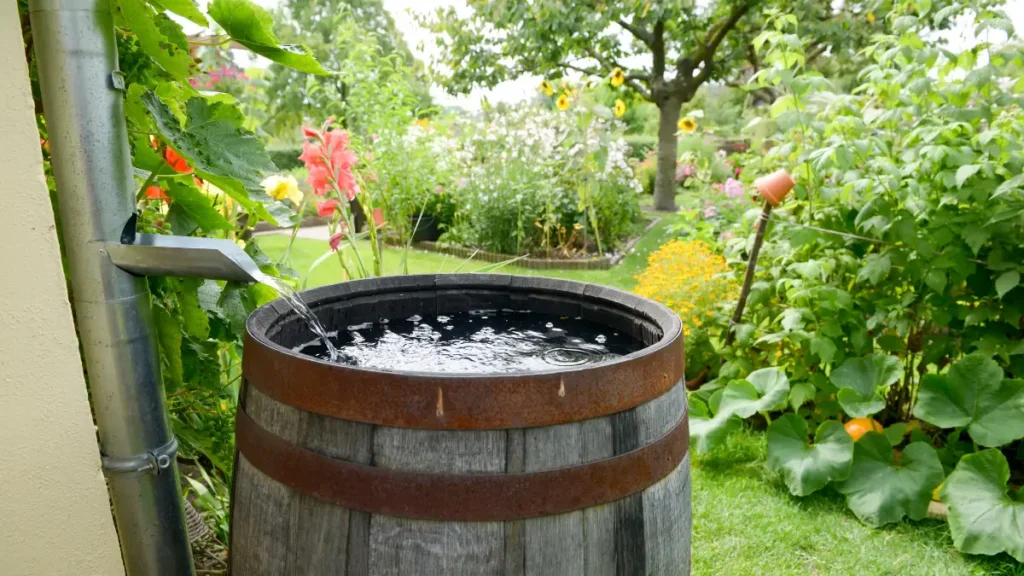
- Find the right location. Look up at your roof lines and downspouts. You want to position the station near a shed or roof downspout for optimal water collection. The closer you are to a gutter, the easier this build becomes.
- Elevate your rain barrel. Place the barrel on heavy concrete blocks. Gravity links the roof to the barrel and the barrel to the sink. Raising a cistern just 2 to 3 feet above the ground gives you enough pressure for standard garden washing tasks without a pump. This elevation is critical.
- Install a first flush diverter. This tool ensures the water hitting your sink is clean. It keeps roof debris and bacteria out of your barrel. The first bit of rain washes dirt off the roof. The diverter catches this dirty water so it never enters your clean supply.
- Mount the sink. Build a simple frame from pressure treated or reclaimed lumber. Secure the sink to this wooden frame. Make sure the sink sits at a comfortable height for you to stand and wash. You do not want to hurt your back while scrubbing potatoes.
Your zero waste harvesting station now has clean water. The frame must be strong enough to hold a sink full of water and heavy winter squash. Add cross bracing to the wooden legs for extra stability.
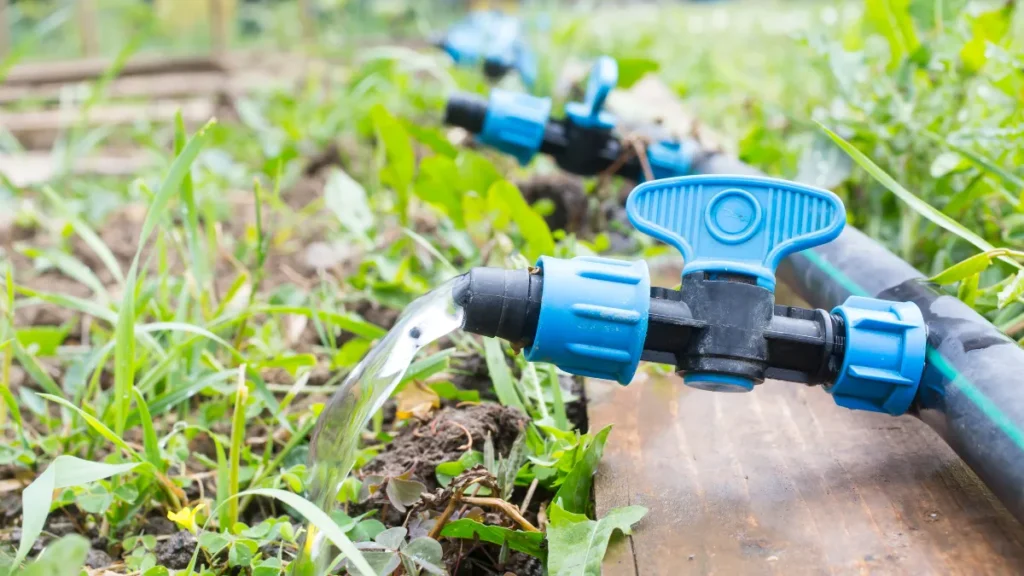
Step 2: Routing Greywater Back to the Garden
What happens to the dirty water once you pull the plug? It flows back into your garden.
- Connect the sink drain. Attach a corrugated pipe to the bottom of the sink drain. Secure it tightly so it does not leak.
- Add a basic mesh trap. You must use a biodegradable drain mesh trap. This catches large soil clumps before they clog the pipe. It also stops rogue carrot pieces from getting stuck in your tubing.
- Direct the runoff. Send the water to a fruit tree guild or a mulch basin. A mulch basin is simply a shallow hole filled with wood chips. It acts as a natural bio filter. It safely breaks down organic matter from the washed vegetables. The wood chips absorb the water and release it slowly into the soil.
- Follow the golden safety rule. Never apply greywater directly to the leaves of low growing crops like lettuce. This avoids contamination. Always route the water to the base of trees or woody shrubs.
Your self sufficient garden ideas are taking shape. The water successfully hits the mulch basin and feeds your soil. The smell of wet earth and clean water tells you the system works.
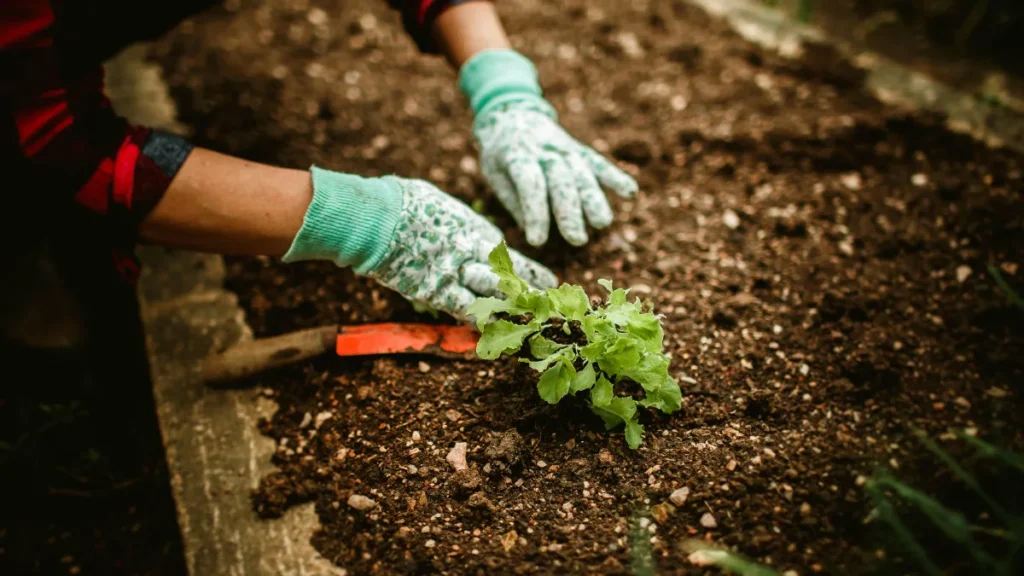
Step 3: Integrating the Composting Loop
Tossing scraps directly from the chopping block into a bin feels great. You skip the trip to the kitchen trash.
- Place your bin. Put a dual bin compost system or a worm farm directly under the washing station. This keeps everything in one tight area.
- Chop and drop. Cut off carrot tops and beet greens right at the sink. Toss pest damaged cabbage leaves directly into the bin below. You can process pounds of food in minutes.
- Keep the kitchen clean. This keeps decaying matter and bugs out of your indoor kitchen bin. Your house stays fresh.
Vermicomposting means using worm bins to break down food. This is a top 2026 trend for rapid scrap breakdown. It works perfectly under a shaded garden sink. The worms love the cool shade. Your permaculture harvest setup directly supports soil regeneration.
You save time by never carrying a compost bin back and forth across the yard. The satisfying thud of heavy cabbage leaves hitting the compost bin means your soil is getting richer.
Step 4: Plastic Free Harvest Storage
Being zero waste does not stop at the sink. You need a good way to store your clean food.
- Ditch the plastic. Stop using single use zip top bags and plastic wrap. Plastics degrade and leach chemicals over time. Bea Johnson wrote Zero Waste Home. She promotes the hierarchy of refuse, reduce, reuse, recycle, rot. Refuse the plastic bags first.
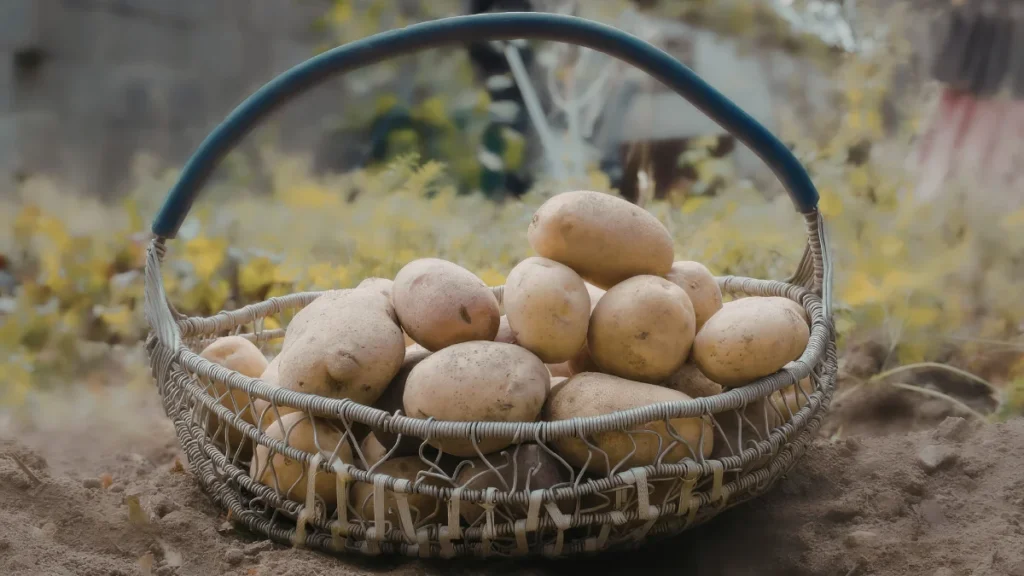
- Use durable tools. Choose traditional wooden harvest trugs and wire harvest baskets. These tools last for decades. They look beautiful sitting on your counter. The wire baskets let water drip away freely from washed greens.
- Store in glass. Glass mason jars are the safest medium for food contact. Glass remains chemically inert indefinitely. Glass is a true traditional recyclable. It never breaks down into harmful micro particles.
Your DIY garden wash station is now complete. You can look down at a beautifully packed wire basket of clean vegetables. The smell of freshly pulled carrots fills the air. You did not waste a single drop of water.
Placement Tips for a Food Forest Layout
You need to put this station in the right spot. A food forest has many layers of plants. The dirty water from your sink is a valuable resource. Do not let it sit on bare dirt. Place your wash station slightly uphill from your fruit trees.
The runoff will flow down naturally. It will water the deep roots of your trees and shrubs. This creates an automatic watering system.
Certain plants love greywater more than others. You want to point your sink drain at the right plants. Large trees handle the soil and small vegetable bits perfectly. Delicate salad greens do not. The table below shows exactly where to direct your water.
| Plant Category | Best Location | Why It Works |
| Fruit Trees (Apples, Pears) | Direct runoff line | Deep roots filter the water safely. |
| Berry Bushes (Elderberry) | Edges of the mulch basin | Shrubs thrive on consistent extra moisture. |
| Leafy Greens (Lettuce, Spinach) | Far away from runoff | Dirty water causes bacterial growth on edible leaves. |
| Root Crops (Carrots, Potatoes) | Uphill from the station | Excess water causes roots to rot in the ground. |