A well-built retaining wall can resolve that sloping backyard that sends soil washing into your neighbor’s garden every time it rains and add thousands to your property’s value.
If you’re dealing with soil erosion destroying your landscaping, unusable sloped spaces, or water drainage headaches, you’re not alone. These issues cost homeowners money and stress every year.
This guide provides comprehensive information on DIY retaining wall construction. You’ll learn step-by-step building methods, smart material choices, drainage systems that actually work, and when to call professionals. By the end, you’ll know exactly how to turn that problem slope into beautiful, functional landscape retaining wall space.
How to Build and Maintain a Landscape Retaining Wall?

Why You Need a Retaining Wall?
Protect Your Property Investment
Soil erosion costs homeowners millions each year. Poor retaining wall construction leads to $200 million in annual damage, but proper walls prevent this destruction while delivering serious retaining wall benefits.
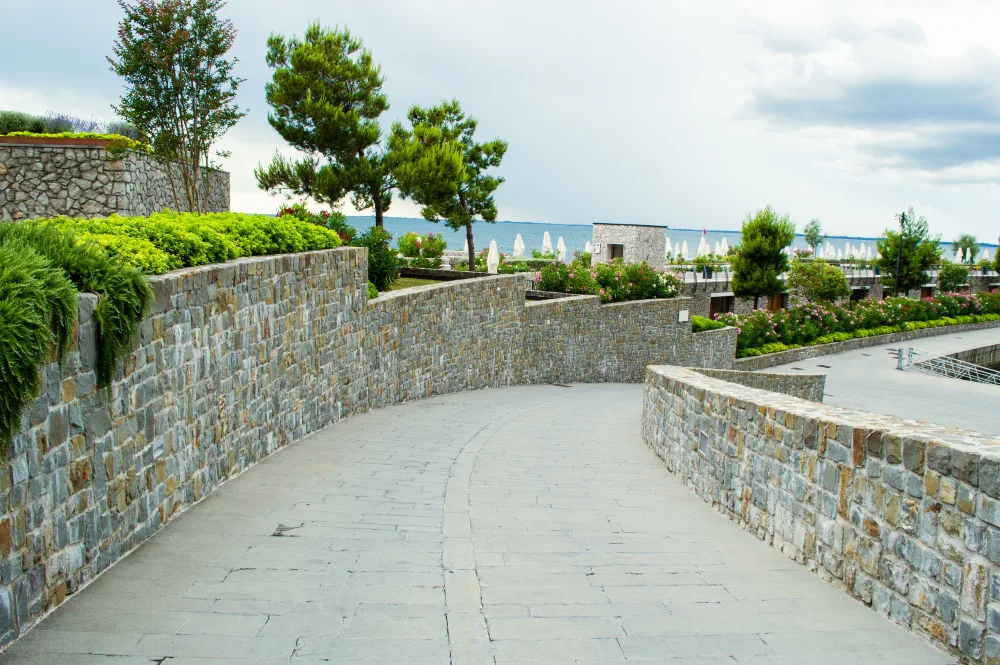
Create Usable Space and Value

A landscape retaining wall transforms unusable slopes into functional outdoor areas. These projects typically add 15% to your home’s value with a 100-200% return on investment.
Control Water and Prevent Foundation Damage
Effective erosion control starts with managing water runoff. Retaining walls direct water safely away from your foundation, preventing costly structural damage that can cost thousands to repair later.
Types of Retaining Walls for 2025

Traditional Options
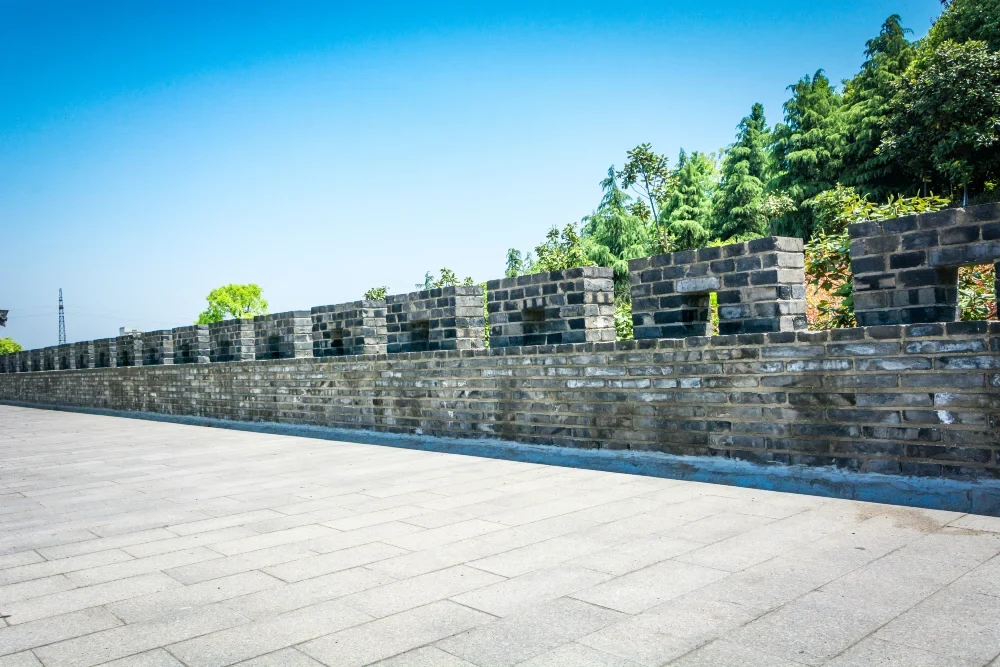
Gravity walls use heavy concrete retaining wall materials or stone to resist soil pressure through weight alone. These proven types of retaining walls work well for smaller projects.
Modern DIY Solutions

Segmental Retaining Walls (SRW) feature interlocking blocks perfect for curved landscaping and DIY installs. MSE walls use layered reinforcement for taller applications.
2025 Innovations
Advanced retaining wall materials include self-healing concrete that repairs its own cracks, fiber-reinforced polymers for extreme durability, and bio-based materials from recycled components. These innovations offer better performance and environmental benefits.
Planning Your Retaining Wall Project

Site Assessment First
Start with soil testing and measuring your slope. Proper retaining wall design depends on understanding your soil conditions and drainage patterns.
Know the Rules
Building codes require retaining wall permits for walls over 4 feet or those supporting surcharge loads. Engineering becomes mandatory for walls over 3 feet in Ohio (requirements vary by state).
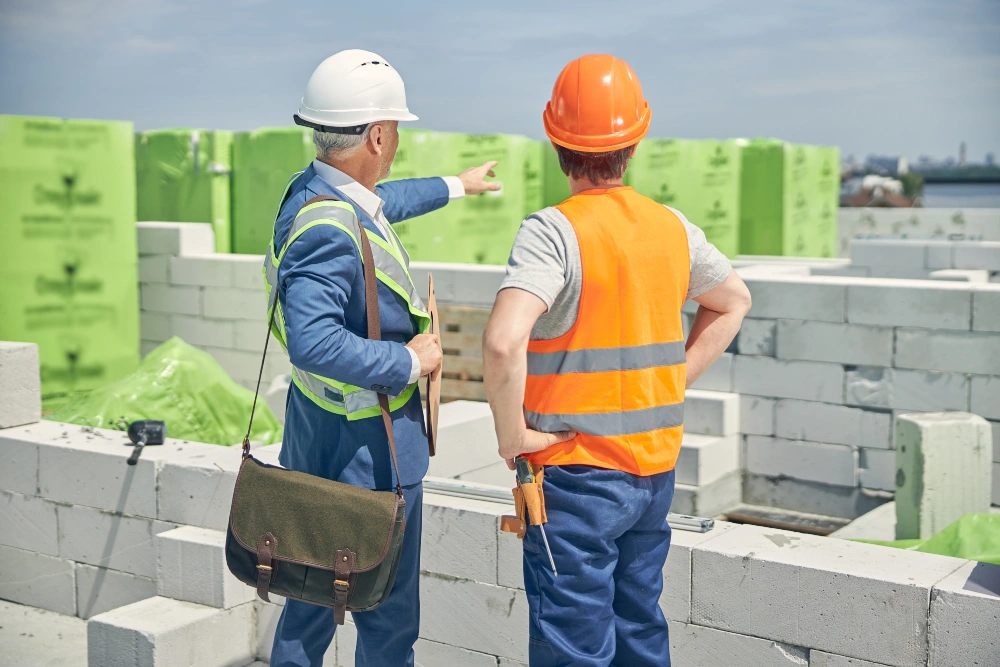
DIY vs. Professional Decision
DIY works for simple walls under 3 feet on level ground. Complex sites, steep slopes, or taller walls need professional expertise to ensure safety and code compliance.
Materials and Tools You’ll Need
Material Options and Costs
Standard concrete blocks cost $3-$8 each, while specialty pieces run $5-$15. Natural stone and recycled retaining wall materials offer eco-friendly alternatives. Total retaining wall cost for DIY materials ranges $4-$20 per square foot.
Essential Tools

You’ll need a plate compactor, level, wheelbarrow, and shovels for basic construction. Don’t skip the compactor; proper soil compaction prevents future settling.
Hardware Essentials
Stock up on rebar for reinforcement, perforated drainage pipe, and geotextile fabric. These items ensure your wall stays stable and drains properly for decades.
Step-by-Step Construction Guide

Step 1: Pre-Construction Planning

Call 811 to mark underground utilities before excavating. This critical safety step prevents dangerous and costly utility strikes during your DIY retaining wall project.
Step 2: Foundation Preparation

Excavate and prepare a level foundation; this first course is critical since the success depends entirely on this level base. Proper excavation ensures long-term stability.
Step 3: Drainage Installation

Install a drainage system behind the wall, especially for walls over 3 feet. Proper drainage prevents water buildup and potential wall failure.
Step 4: First Course Installation

Lay your first course carefully, checking for level. This foundation row determines the success of your entire retaining wall construction project.
Step 5: Building Up and Backfilling

Build subsequent courses while staggering joints for stability and properly backfilling as you go. Always wear safety equipment and compact backfill in 6-inch lifts.
Safety and Code Compliance

For how to build retaining wall projects exceeding 4 feet, consult local building codes and consider professional engineering consultation.
Critical Drainage Systems

Understanding Hydrostatic Pressure
Hydrostatic pressure is the #1 cause of retaining wall failure, making proper retaining wall drainage essential. Water-saturated soil creates tremendous force against wall structures, leading to catastrophic collapse without proper drainage management.
French Drain Installation
Install a French drain system behind your wall using perforated pipes surrounded by gravel to redirect water away from the structure. This underground drainage system effectively channels water before pressure builds up.
Supplemental Drainage Features

Create weep holes every 6-8 feet in the wall face for additional drainage. These openings allow trapped water to escape, preventing dangerous pressure accumulation behind the wall.
Proper Backfill Materials
Use proper backfill materials, including clean gravel and geotextile fabric to filter water while preventing soil migration. Without adequate drainage, even the strongest retaining wall will eventually succumb to hydrostatic pressure buildup during heavy rains or snowmelt.
Cost Breakdown: DIY vs Professional

Professional Installation Costs
Professional retaining wall cost ranges from $20-$55 per square foot in 2025, with average project costs between $3,197-$9,203 and a typical $6,074 average. These retaining wall price ranges include labor, materials, and expertise.
DIY Material Costs and Savings
DIY vs professional comparison shows significant savings potential, with materials-only costs ranging $4-$20 per square foot. This represents a substantial cost reduction compared to professional installation.
Hidden Costs to Consider

Factor in permits, tool rentals, waste disposal, and potential rework costs. These hidden expenses can add 20-30% to your initial material budget.
When Professional Installation Pays Off
Choose professionals for walls over 4 feet, complex drainage requirements, or steep slopes where engineering expertise prevents costly failures and ensures long-term performance.
Maintenance and Troubleshooting

Annual Inspection Checklist
Conduct yearly retaining wall maintenance inspections, watching for bulging, water seepage, and soil erosion at the base. Check for cracks, loose stones, or leaning sections that indicate potential wall failure.
Common Problems and Solutions
Address leaning, cracking, and drainage issues promptly through proper retaining wall repair techniques. Clear blocked drainage systems, repoint mortar joints, and replace damaged blocks before problems worsen.
Professional vs DIY Repairs

Handle minor maintenance yourself, but call professionals for structural issues, significant leaning, or foundation problems that could lead to catastrophic failure.
Lifespan Expectations
With proper maintenance, concrete walls last 50-100 years while timber walls last 20-40 years. Regular upkeep, including drainage clearing, vegetation management, and prompt repairs, maximizes your investment and prevents costly emergency reconstruction.
2025 Innovations and Trends

Self-Healing Concrete Technology
Revolutionary self-healing concrete uses bacteria to automatically repair cracks, extending wall lifespan and reducing maintenance costs. This breakthrough technology represents a major advancement in retaining wall trends for long-term durability.
Sustainable Materials Revolution

Sustainable materials, including recycled aggregates and bio-based options, are transforming construction practices. These eco-friendly alternatives reduce environmental impact while maintaining structural integrity and performance standards.
Smart Monitoring Systems
Advanced smart wall systems incorporate sensors to monitor structural health, soil pressure, and drainage performance in real-time. These innovative construction technologies provide early warning systems for potential failures.
Modular Construction Advances
3D printing and modular construction techniques are pushing design boundaries, enabling faster installation and customizable solutions. These methods reduce labor costs while improving precision and consistency in wall construction projects.