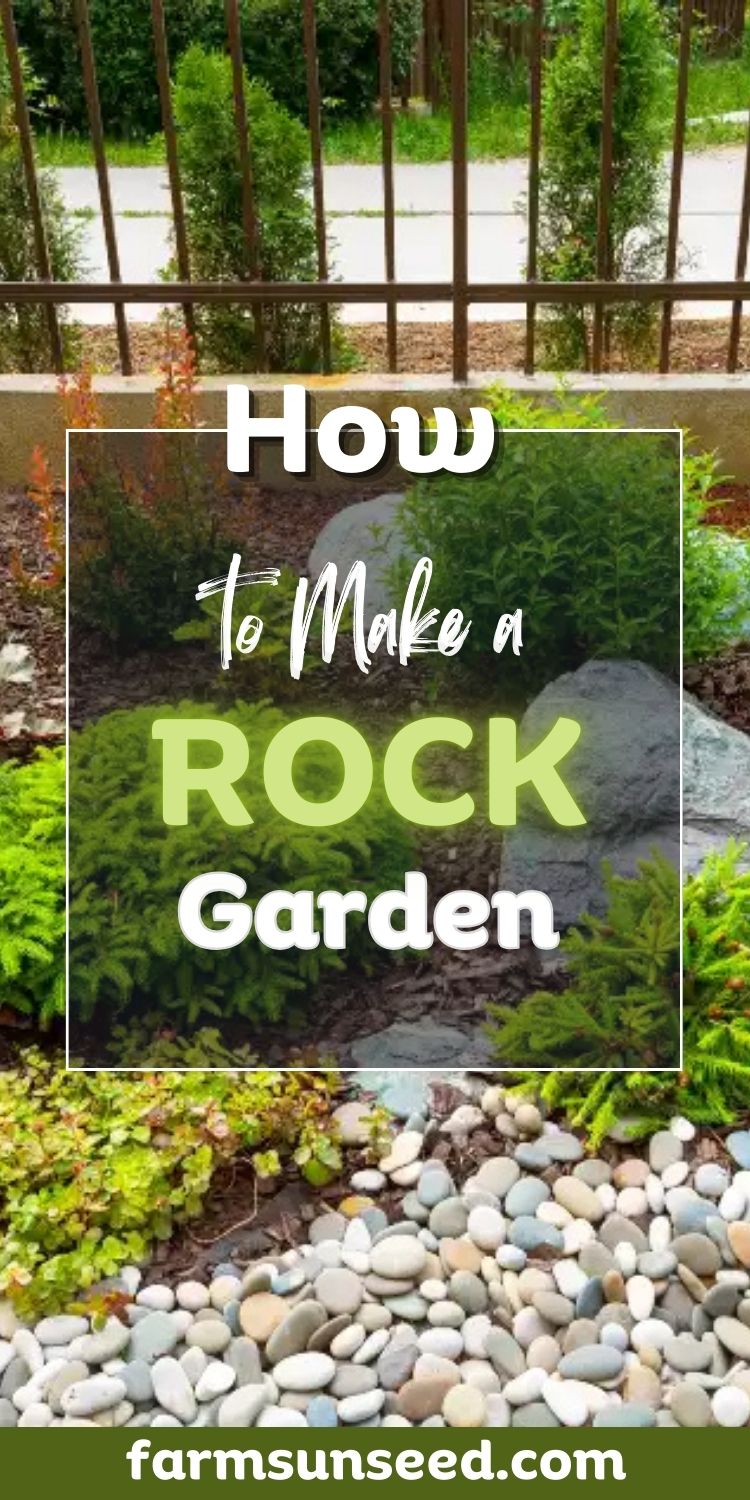
Want a beautiful yard that barely needs watering? You’re not alone. Rising water bills, unpredictable weather, and busy schedules make traditional gardens a real challenge for homeowners everywhere.
That’s where rock gardens shine. Learning how to make a rock garden gives you a stunning, drought-tolerant space that thrives with minimal care. This guide walks you through the complete process, from planning to planting, so you can create low-maintenance beauty that saves water, time, and money all year long.
How to Make a Rock Garden?
Why Rock Gardens Are Perfect for 2025?
Sustainability & Climate Benefits
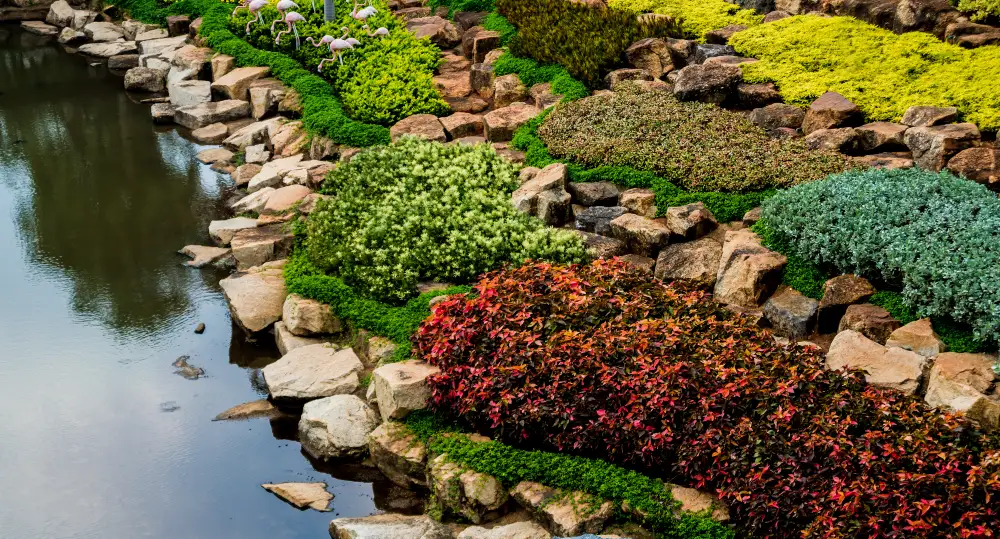
Rock garden design delivers 40% less water usage than traditional gardens, aligning with 2025 sustainability trends. This drought-resistant, sustainable landscaping withstands extreme weather conditions, making it ideal for climate-resilient home design.
Property Value & Problem-Solving
These gardens increase property value by $2,000 to $ 5,000 on average, while solving challenging areas such as slopes, poor soil conditions, and dry spots where traditional plants struggle.
Low-Maintenance Living
Once established, rock gardens require virtually no ongoing maintenance, saving homeowners time and costs for years to come.
Planning Your Rock Garden Layout
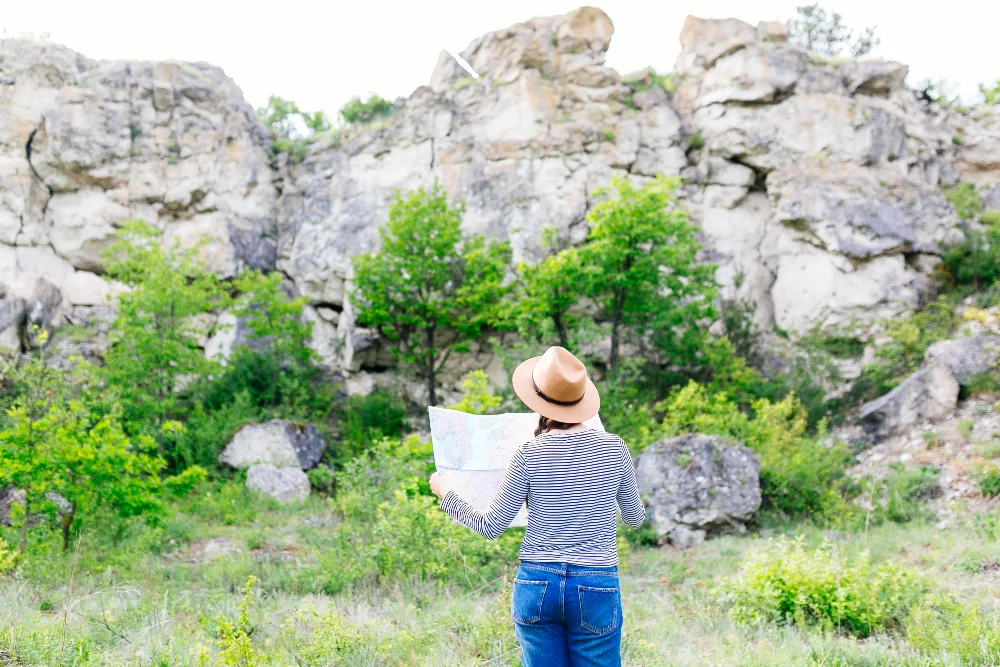
Site Selection & Yard Planning
Select sunny locations with at least 6 hours of daily sunlight for optimal rock garden construction. Avoid areas under trees or near gutters where water runoff creates problems. Natural slopes work perfectly, or create raised beds for better drainage.
Smart Sizing & Landscape Design
Start small with 50-100 square feet for beginners. Always sketch your design before buying materials to ensure proper planning and avoid costly mistakes during construction.
Popular 2025 Applications
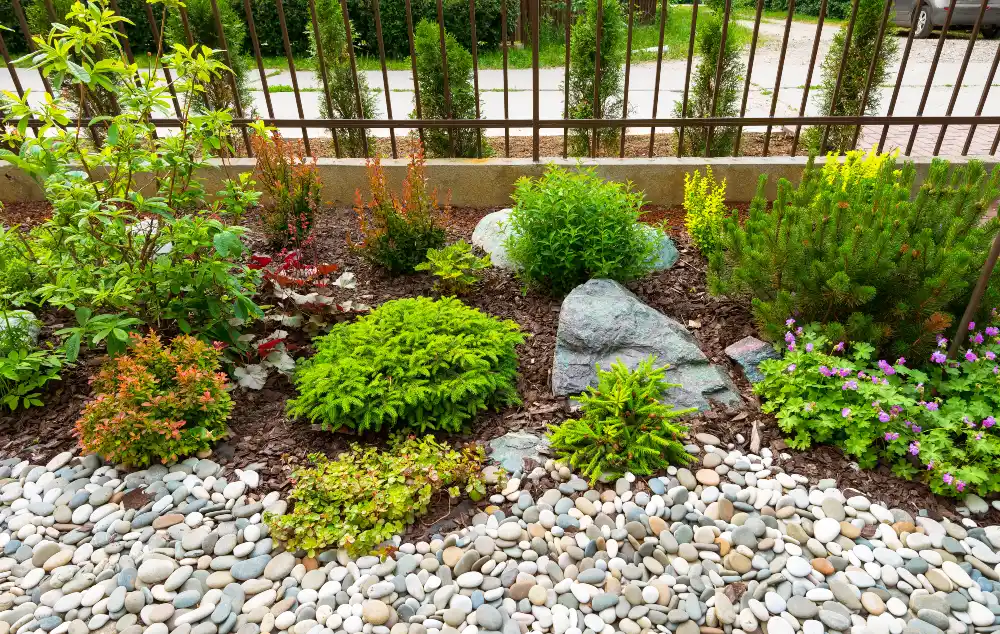
Front yard corner gardens lead current trends, while hillside terracing provides excellent erosion control. Many homeowners replace high-maintenance lawn sections with these low-care alternatives.
Essential Materials and Tools You’ll Need
Rock Selection & Drainage Materials
Choose one geological rock type for a natural appearance. Essential rock garden materials include coarse sand, gravel, and crushed granite for proper drainage. Most projects require 3-6 cubic yards covering 250-800 square feet.
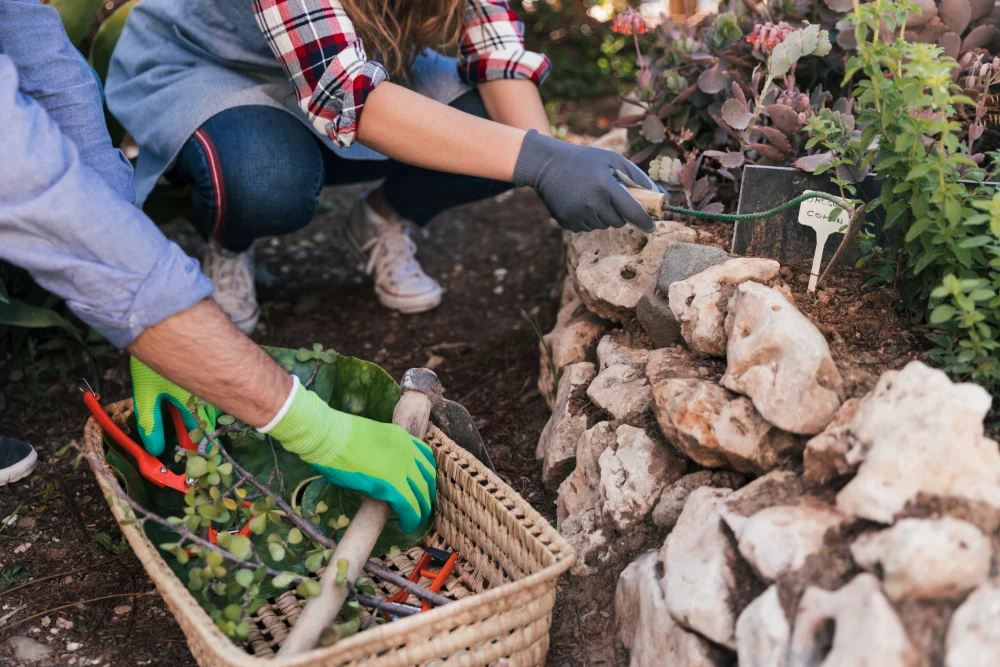
Tools & Budget Planning
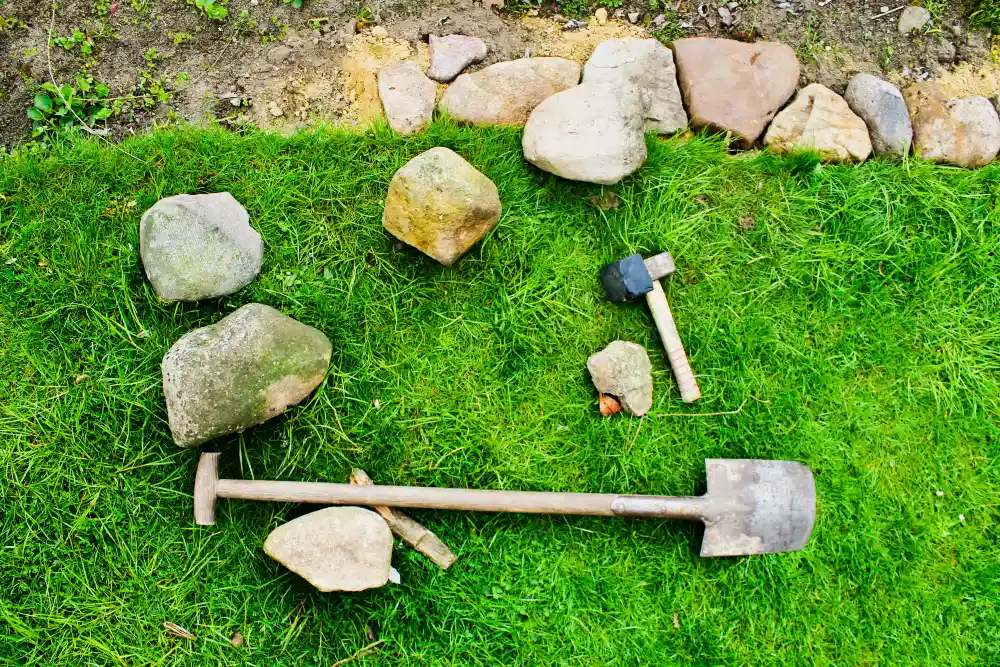
Basic tools include a shovel, wheelbarrow, and a crowbar for moving large rocks. Budget $200-800 for a 100 square foot project, with landscaping costs varying significantly based on rock selection and site complexity.
Sourcing & Pricing
Source materials from local quarries and landscaping suppliers. River rocks cost $80-150 per ton, while large landscaping rocks range $100-$350 per ton at 2025 prices.
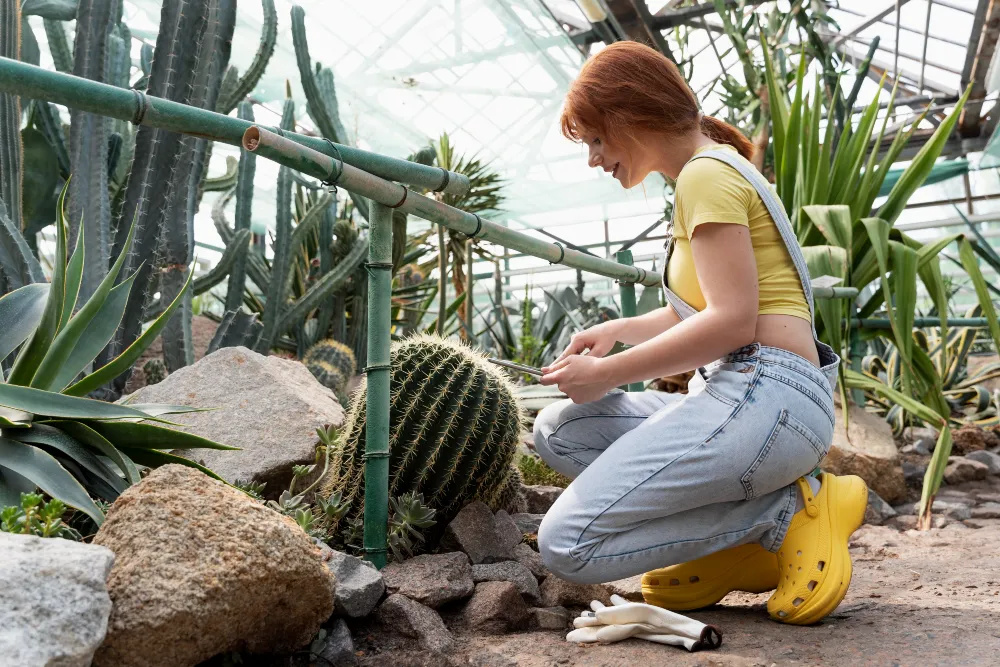
Step 1: Prepare the Ground
Site Marking & Weed Control
Begin proper garden preparation by marking your area with string or spray paint for clear boundaries. Remove all existing grass and weeds completely to prevent future growth issues and competition with your rock garden plants.
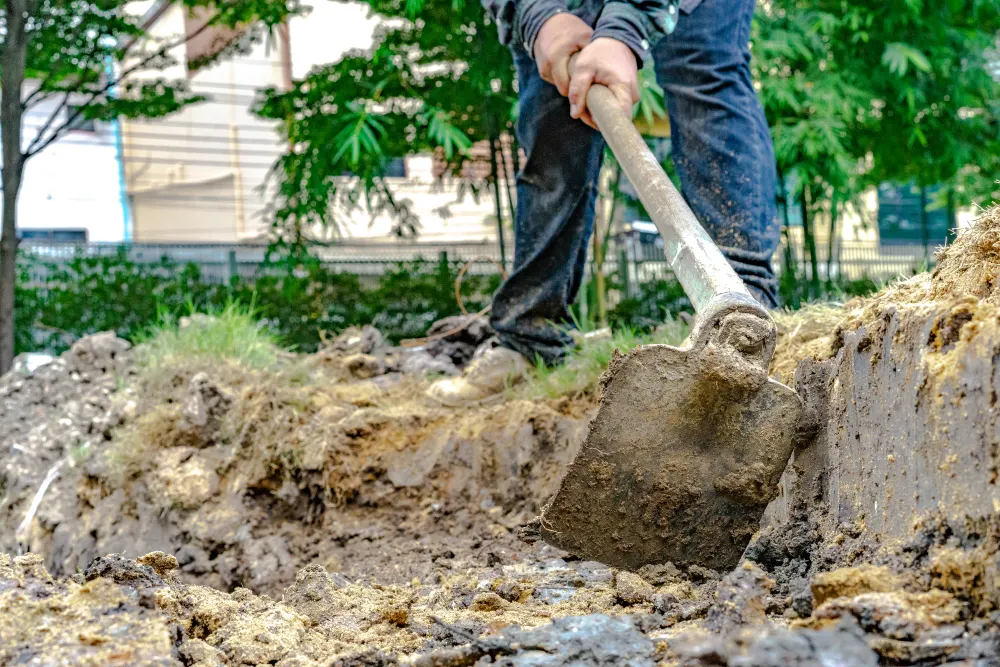
Excavation & Drainage
Excavate the marked area 12-18 inches deep for a proper foundation. Check drainage by filling the hole with water; it should drain within 24 hours. Poor drainage requires additional amendments before proceeding.
Final Ground Preparation
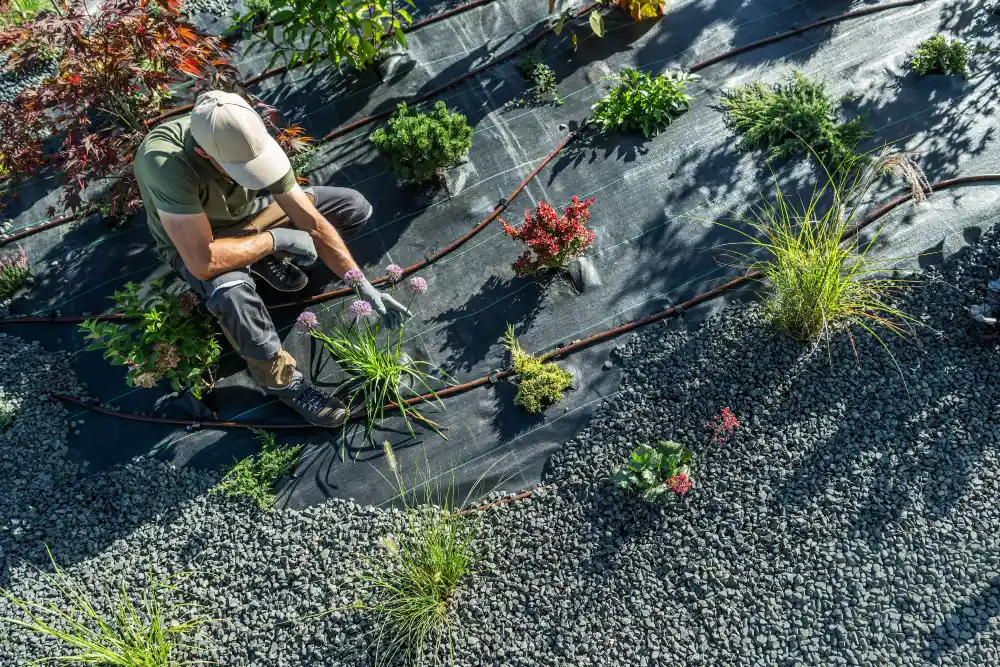
Install landscape fabric as an optional but recommended barrier against weeds. This step completes the essential groundwork needed before adding drainage materials and rocks to your garden space.
Step 2: Create Proper Drainage
Foundation & Gravel Base
Establish excellent garden drainage by adding a 4-6 inch base layer of coarse gravel. This foundation layer prevents water from pooling and protects plant roots from rot while ensuring proper water flow through your rock garden.
Soil Preparation & Mixing
Create optimal growing conditions by mixing existing soil with sand using a 50/50 ratio for improved drainage. Avoid clay-heavy soils completely, as they retain too much moisture and can kill drought-resistant plants over time.
Drainage Testing
Test your drainage system by thoroughly watering the prepared area. Water should drain within 24 hours. If pooling occurs, add more sand or gravel to improve water flow before proceeding with rock placement.
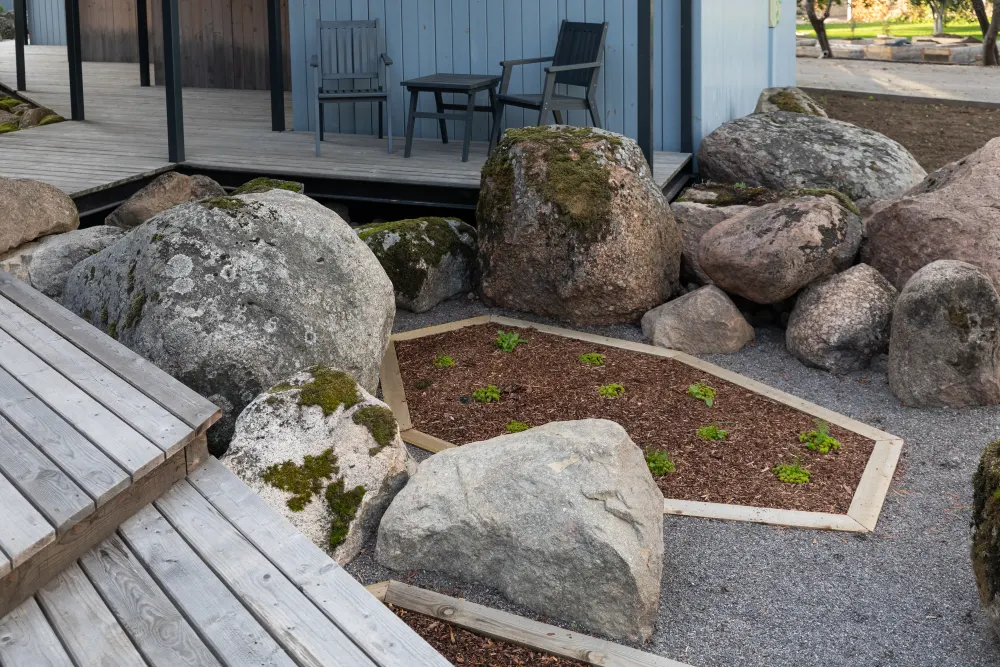
Step 3: Place Your Rocks Strategically
Boulder Installation & Moving Techniques
Begin strategic rock placement with your largest rocks first (200+ pounds). Use pipes to roll heavy boulders for easier positioning without injury. These foundation stones establish your garden’s structure and control water flow patterns throughout the space.
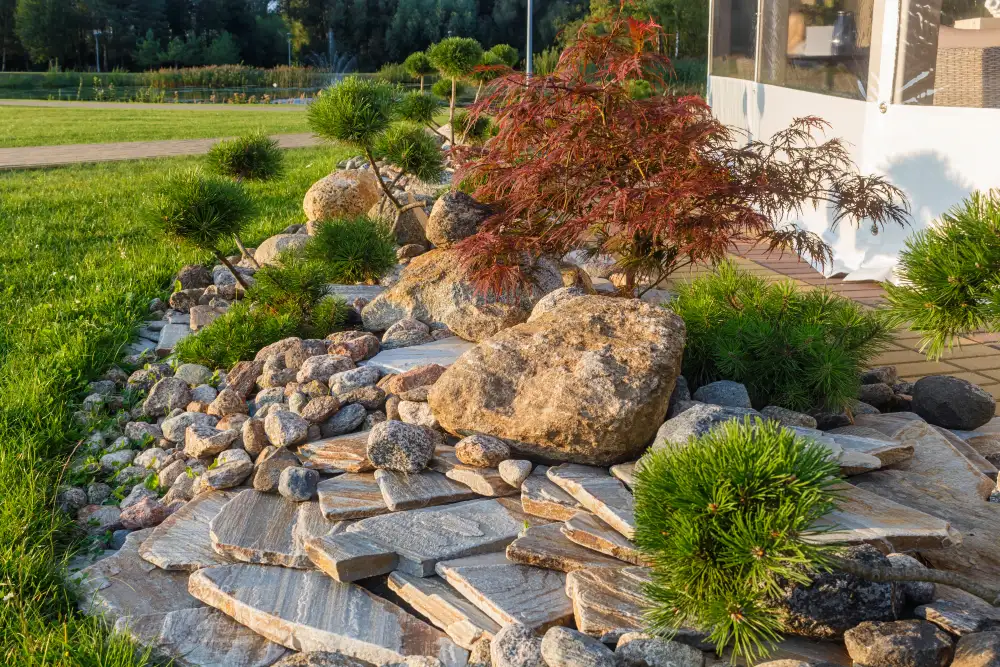
Natural Landscaping Positioning
Achieve authentic natural landscaping by burying one-third of each rock for a settled appearance. Angle rocks slightly backward to mimic natural geological formations and create stable, permanent-looking installations that weather beautifully over time.
Visual Connections & Planting Spaces
Connect larger rocks visually using smaller stones to create a cohesive flow. Leave strategic crevices and planting pockets between rocks for optimal plant placement, ensuring your garden has both structural beauty and growing opportunities.
Best Rock Garden Plants for 2025

Trending Native & Alpine Plants
Drought-tolerant plants dominate 2025 landscaping trends, with native plants leading the way. Focus on hardy alpine plants suited for zones 3-9 coverage, ensuring year-round success with regional native succulents that thrive in rocky conditions.
Top Rock Garden Plants by Performance
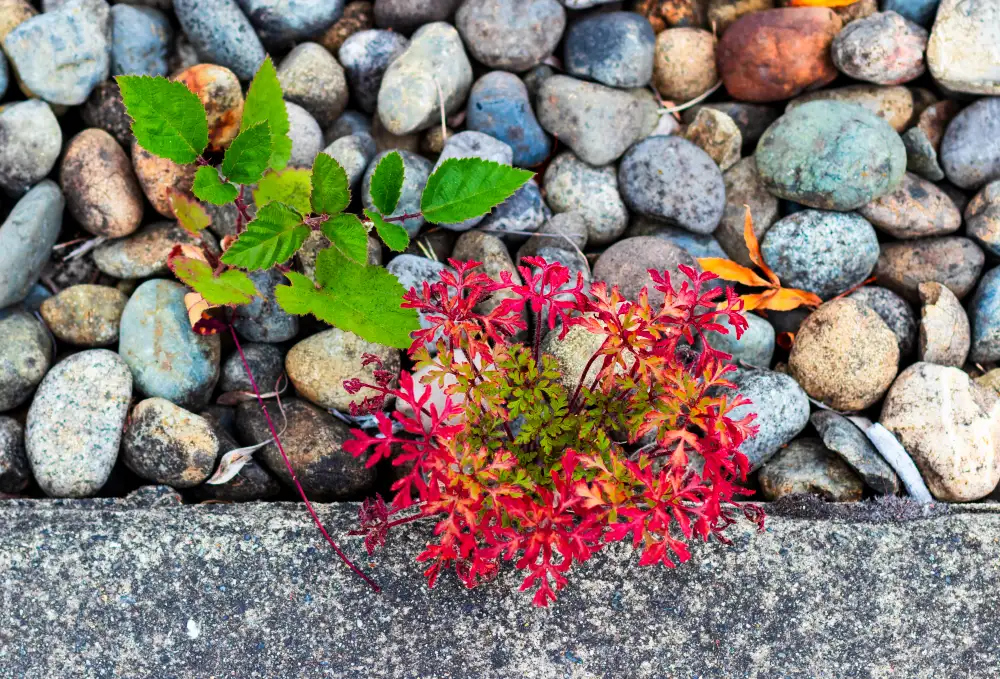
Sedums provide late summer color and attract pollinators (zones 3-9). Blue Fescue offers stunning textural contrast with minimal water needs (zones 4-8). Dianthus creates cottage garden charm with fragrant blooms, while Campanula delivers extended flowering seasons (both zones 3-9).
Planting & Maintenance Strategy
Space plants according to mature size, allowing room for natural spreading. Most selections require minimal maintenance once established, making them perfect low-care choices for sustainable rock garden success.
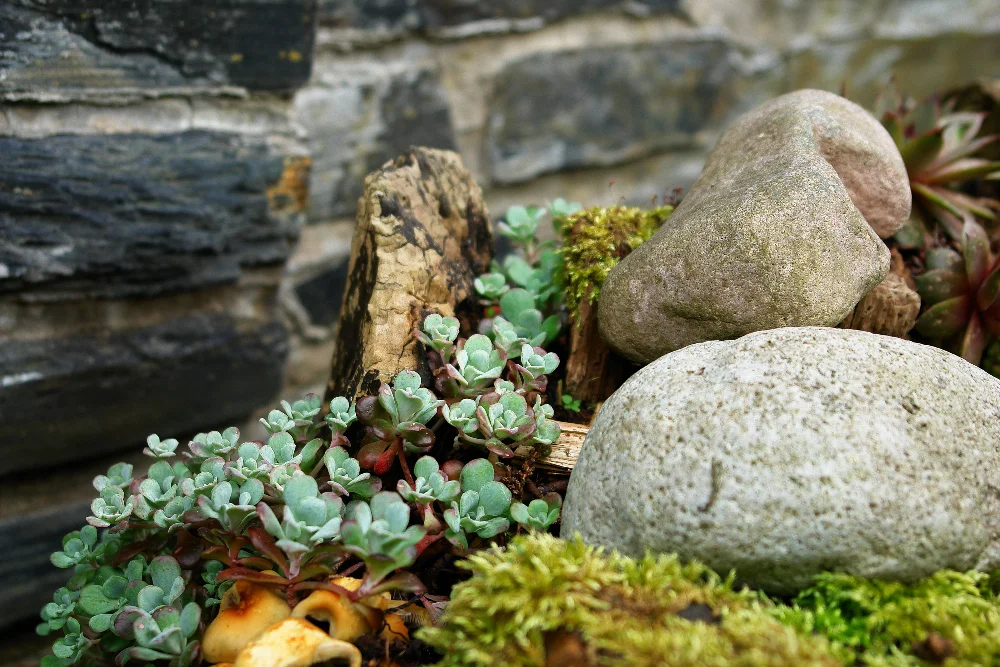
Step 4: Plant Your Rock Garden
Timing & Hole Preparation
Begin planting rock garden installations in spring after the last frost for optimal plant establishment. Dig holes slightly larger than root balls to give roots room to spread naturally without cramping or circling confined spaces.
Natural Plant Installation

Position plants for an organic, natural appearance rather than rigid rows. Successful plant installation mimics how plants grow in wild rock formations; clustered irregularly with varying heights and spacing that creates visual interest and authentic beauty.
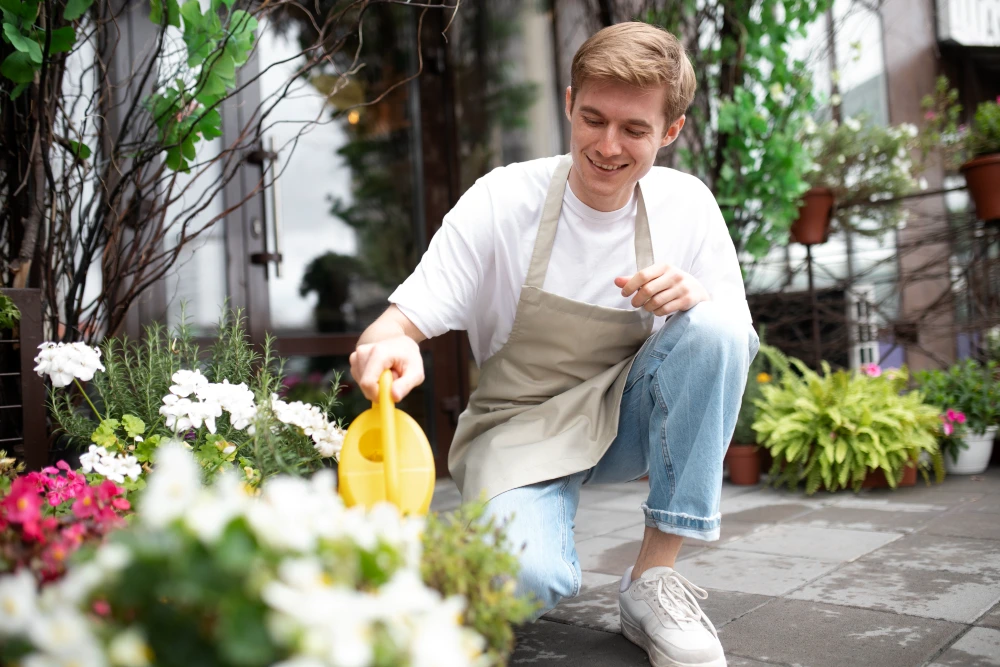
Watering & Garden Establishment
Water all plantings thoroughly immediately after installation to eliminate air pockets around roots. Complete garden establishment by adding a protective mulch layer of small gravel around each plant to retain moisture and prevent weeds from competing.
Maintenance Made Simple
Watering & Basic Garden Care
Rock garden maintenance requires minimal effort with proper watering techniques. Water deeply but infrequently; maximum 2-3 times per month; to encourage strong root development. This low-maintenance gardening approach mimics natural rainfall patterns and reduces overall water consumption significantly.
Plant & Weed Management
Hand-pull weeds carefully to avoid disturbing rocks and plant roots. Never use herbicides near rocks, as chemicals can damage stone surfaces. Prune plants immediately after flowering to maintain shape and encourage healthy growth for the following season.
Annual Costs & Upkeep
Expect annual garden care costs of just $50-150 per year for basic maintenance supplies. Replace gravel mulch every 2-3 years to maintain appearance and weed suppression, making this one of the most cost-effective landscaping options available.
Common Mistakes to Avoid

Watering & Plant Care Errors
The biggest rock garden mistakes involve overwatering, which kills more plants than drought conditions. These drought-resistant plants prefer dry conditions, so resist the urge to water frequently. Proper troubleshooting starts with understanding that less water equals healthier plants in rock gardens.
Design & Material Missteps
Avoid using mixed rock types, which creates an unnatural, chaotic appearance. Maintain visual cohesion by selecting one geological stone type throughout your entire garden. Additionally, never plant specimens too close together; overcrowding prevents proper air circulation and growth.
Planning & Zone Issues
Essential gardening tips include respecting drainage requirements and choosing plants suited for your specific hardiness zone. Ignoring these fundamentals leads to expensive plant losses and disappointing results that require complete garden redesign and replanting efforts.