Removing wallpaper isn’t complicated, but it is tedious, especially if you want to avoid damaging your walls. Four methods: steamer, water and vinegar, or fabric softener, liquid remover, or gel remover allow you to safely remove about 100 square feet of wallpaper in an hour.
Removing wallpaper can feel overwhelming if you’re unprepared, but with the right approach, it’s a manageable DIY task. The key is knowing the type of wallpaper you’re dealing with and using the correct removal method to avoid damage to your walls.
One common mistake is rushing the process, which can lead to gouged drywall or lingering adhesive. Instead, work in small sections, applying solution or steam to loosen the glue before gently scraping. Ventilation is also important, especially when using chemical removers.
No More Scrubbing! The Genius Guide to Effortless Wallpaper Removal
1. Types of Wallpaper
Wallpaper comes in different materials, each requiring a specific removal approach:
i. Vinyl Wallpaper

The most common type features a plastic-coated surface that resists moisture. It usually has a paper or fabric backing. Due to its water-resistant layer, removal often requires scoring and a strong stripping solution to penetrate the adhesive.
ii. Non-Woven Wallpaper

Made from synthetic fibers, this type is durable and breathable. It can often be peeled off in large sheets since the adhesive bonds to the backing rather than the wall. Water or steam helps loosen stubborn sections.
iii. Traditional Paper-Based Wallpaper

Oldest type, made entirely of paper. It absorbs water easily, making removal simpler with a spray solution or steamer. However, over-saturation can cause tearing, requiring careful peeling.
2. Essential Tools and Materials Needed
i. Scoring tool

Creates small perforations to help stripping solutions penetrate the wallpaper.
ii. Putty knife or scraper

A wide, flexible blade helps lift and peel wallpaper without gouging walls.
iii. Spray bottle or garden sprayer

For applying warm water, a vinegar mix, or commercial wallpaper remover.
iv. Wallpaper removal solution

Either a store-bought stripper or a DIY mix (hot water, vinegar, and dish soap).
v. Steamer

Useful for stubborn wallpaper, as steam loosens adhesive quickly.
vi. Safety gear

Gloves (to protect hands from chemicals) and goggles (to prevent splashes).
3. Preparation Surface

Before diving into your wallpaper removal project, it’s essential to properly prepare the space to avoid mishaps and ensure a smooth process. Start by clearing the room of furniture or covering it with plastic sheeting to shield it from moisture and debris. To determine the best removal method, test a small section of the wallpaper.
Peel back a corner to identify its type (vinyl, non-woven, or paper), then spray it with water or stripper to see how easily the adhesive releases. Finally, ensure proper ventilation by opening windows or using fans to minimize fumes from chemical removers.
4. Removal Process

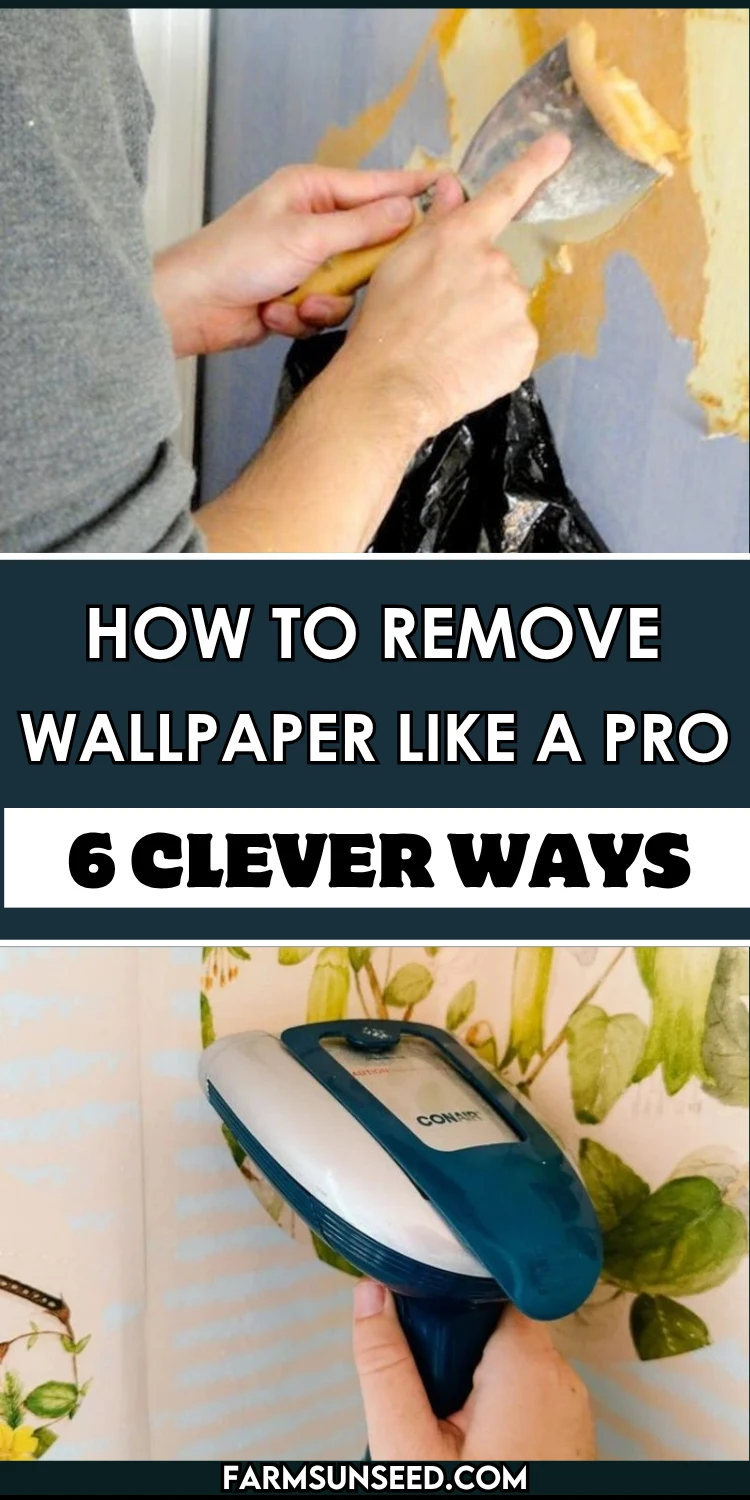
Score the wallpaper surface in crosshatch patterns without penetrating drywall underneath. Apply warm water mixed with fabric softener or commercial remover using a spray bottle.
Allow the solution to penetrate for 15 minutes, then scrape gently from bottom upward with your putty knife. Work systematically across each wall section.
5. Removing Stubborn Adhesive Residue

After peeling off the wallpaper, leftover adhesive can be particularly stubborn, especially with vinyl-backed or multi-layered wallpaper. To fully remove this residue, start by generously applying a commercial adhesive remover or a homemade solution of hot water, vinegar, and dish soap. Let it soak for 10-15 minutes to soften the glue before gently scraping with a putty knife.
Hold the steamer a few inches from the wall, moving it slowly to avoid oversaturating or overheating any single spot. If residue persists, lightly sanding the area with fine-grit sandpaper can help smooth the surface before priming or repainting.
6. Final Cleanup and Wall Preparation

Once all wallpaper and adhesive residue have been removed, a thorough cleaning is essential to prepare the surface for new paint or wallpaper. Begin by washing the walls with a sponge and warm, soapy water to remove any lingering stripper solution or glue particles.
For stubborn areas, use a mild degreaser or TSP (trisodium phosphate) substitute to ensure all traces of adhesive are eliminated. Rinse the walls with clean water and allow them to dry completely.
Some Pro Tips & Hacks for Easier Wallpaper Removal
Removing wallpaper can be frustrating, but these tricks make the process faster and cleaner:
1. The Vinegar & Fabric Softener Hack
Mix equal parts hot water and white vinegar (or add a splash of liquid fabric softener) in a spray bottle. Spray generously and let it soak for 10-15 minutes. The acid breaks down the adhesive while the fabric softener prevents re-sticking. Works better than plain water for stubborn glue.
2. Perforate Like a Pro
Don’t just score randomly; make tight, even holes with a scoring tool (or a fork in a pinch) to help liquid penetrate. Avoid pressing too hard to prevent wall damage.
3. Use a Steamer Smartly
Hold the steamer 6-8 inches away from the wall, moving in small sections. Stop if the wall gets too oversaturated can damage drywall. It is best for multiple layers of vinyl wallpaper.
4. Peel from the Bottom Up
Wallpaper often hangs slightly loose at the bottom. Start peeling from the baseboard up to grab larger strips. If it tears, respray and wait a few more minutes.
5. The Dish Soap & Hot Water Trick
Add a few drops of dish soap to hot water it cuts through grease-based adhesives. Apply with a paint roller for even coverage (faster than spraying).
6. Remove Glue with Rubbing Alcohol
For sticky residue, dab a cloth in rubbing alcohol (isopropyl) and rub it to dissolve the glue without harsh chemicals. Test first on a small area to ensure no paint damage.
7. Cover Stubborn Spots with Joint Compound
If the adhesive won’t budge, skim-coat with thin joint compound, let dry, and sand smooth. Cheaper than wall repair patches.
What Are Safety Considerations for Wallpaper Removal
Removing wallpaper may seem straightforward, but it involves several safety risks, from chemical exposure to electrical hazards. Follow these precautions to protect yourself and your home:
1. Electrical Safety

Turn off the power to outlets and switches in the work area before spraying liquids or using steam. Use a non-contact voltage tester to confirm circuits are dead before working near wiring. Avoid letting water or steam seep into electrical boxes, which could cause short circuits.
2. Chemical & Fume Protection

Wear gloves (nitrile or rubber) to protect skin from harsh strippers, vinegar, or adhesive residue. Use safety goggles to prevent splashes from chemicals or debris. Ventilate the room with open windows and use fans when working with commercial removers or steamers to avoid inhaling fumes.
3. Preventing Wall & Structural Damage

Test a small area first; some older plaster walls can crumble if oversaturated. Avoid excessive scraping or sanding on drywall, which can tear the paper facing. If using a steamer, keep it moving to prevent moisture damage (especially on drywall).
4. Personal Safety & Ergonomics

Use a ladder properly, don’t overreach; reposition it frequently. Attach a scraper to an extension pole for high walls to avoid neck/shoulder strain. Wear a dust mask when sanding adhesive residue to avoid inhaling particles.
5. Slip & Trip Hazards

Secure drop cloths with painter’s tape to prevent tripping. Wipe up spills immediately; wet floors are slippery, especially with soapy solutions.
FAQs
What’s the easiest way to remove wallpaper?
Use a steamer or a spray solution (1:1 vinegar and hot water or commercial stripper). Score the wallpaper first, apply the solution, wait 10–15 minutes, then scrape with a putty knife.
Can I remove painted-over wallpaper?
Yes, but it’s harder. Score deeply with a wallpaper scorer, apply steam or stripper, and peel carefully. You may need multiple applications.
Will removing wallpaper damage my walls?
It can if done aggressively. Avoid oversaturating drywall and use gentle scraping. Repair any gouges with spackle before repainting.