The $40,000 dream home slowly turned into a $150,000 nightmare. At the beginning, everything looked easy: just a few containers, a small piece of land, and a simple plan to build a modern home.
But things didn’t go as expected. The costs kept increasing, permissions took longer, and small design mistakes became big problems.
Many people start container home projects thinking it will save money, but most of them end up spending more than they planned. The main reason is not the idea itself, but poor planning and a lack of knowledge about real costs and rules.
Those who do proper research and plan carefully can make it work, while others face loss and stress. By understanding the real expenses and common mistakes in 2025, anyone can build smart and avoid failure.
#1. The Brutal Truth About Container Home Costs

Let me show you the real numbers. Not the YouTube fantasy.
You see a $2,500 used container online and think you found a deal. But that container is just the shell. Before you can live in it, you need to turn a metal box into a home.
Here’s what it actually costs: $150 to $350 per square foot. That’s the same as building a regular house. Sometimes more.
Start with the basics: a 20-foot container delivered to your property costs $4,000. A 40-foot container runs $5,300. And you haven’t cut a single window yet.
The Hidden Costs Kill Most Budgets

Building permits? $500 to $2,000. Site preparation and foundation work? $5,000 to $10,000. Getting water and electricity to your property? $2,000 to $5,000 per utility line. Your septic system adds another significant expense.
But here’s where it gets expensive. Modifications cost serious money.
You need to cut holes for doors and windows. Add insulation to prevent freezing or overheating. Install plumbing and electrical. Build interior walls. The list never ends.
A basic DIY build for a 40-foot container? $30,000 to $40,000 minimum. That’s if you do most of the work yourself and make smart choices.
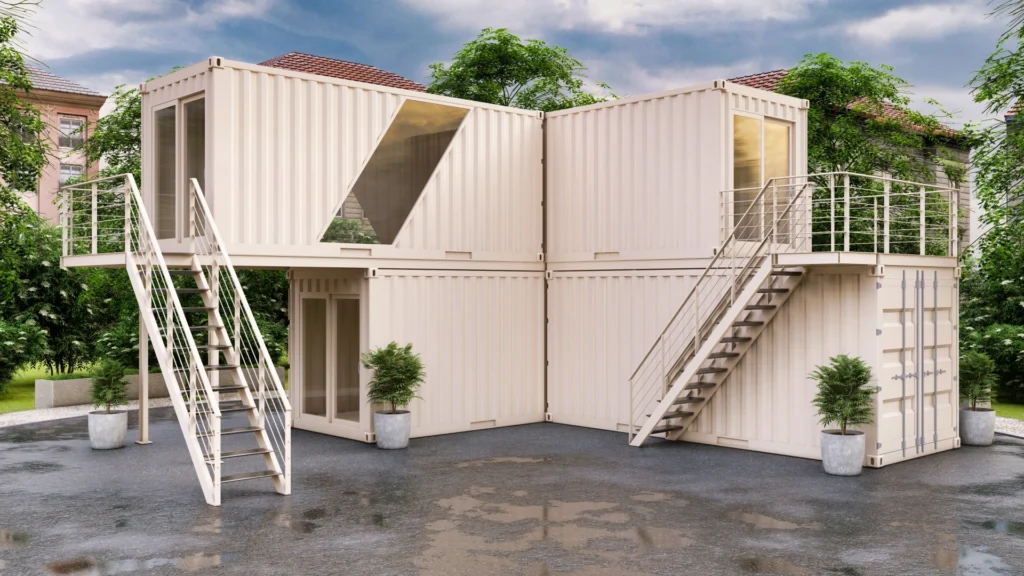
Want something nicer? A mid-range 40-foot build runs $80,000 to $120,000. Multiple containers stacked or joined together? You’re looking at $150,000 to $400,000 or more.
On top of that basic cost, you need tools. And contractors for welding, electrical, and plumbing. Most people can’t do everything alone.
Here’s an example: A simple 20-foot container home costs $25,000 to $35,000 when finished. That’s for 160 square feet of living space. Do the math on price per square foot.
Add these up. That $10,000 dream you saw on social media? It’s now $40,000 minimum for something livable. And that’s only if everything goes right.
Container homes save you money only if you keep them simple and do the work yourself. The second you want something fancy or hire help, the costs match regular construction.
#2. Mistake #1 – Skipping Permit Research (The $1.5 Million Error)

You built your dream home. Then the city told you to tear it down. The bill? $1.5 million. Gone because you skipped the permit process.
This happens more than you think.
The problem is that container home permits aren’t like regular building permits. Your local government might not even have rules for them yet. Some cities say yes. Others say absolutely not.
Zoning laws change from city to city. Some areas ban container homes completely. You can’t just buy land and start building.
The permit process isn’t quick either. Getting approved takes weeks to months. And if your application is incomplete? Rejected. Back to square one.
Why Do Applications Get Rejected?
Here are the most common reasons:
- Missing details on emergency exits in your drawings
- No clear insulation specifications.
- Your land is zoned for traditional housing only
- Plans not stamped by a licensed architect or engineer
Each state has different rules. Let me break it down.
California is tough: You must follow the California Building Code, including seismic standards, because of earthquakes. The process is strict. The costs are high.
Texas is easier: The state uses the International Residential Code as a reference. Local jurisdictions make their own rules. Houston is less restrictive than most cities. But you still need permits.
#3. Mistake #2 – Buying the Wrong Container Size

When planning your shipping container home, one critical decision will make or break your living comfort: choosing between standard and high cube containers. This seemingly small choice has massive implications for your finished space.
The Height Difference That Matters
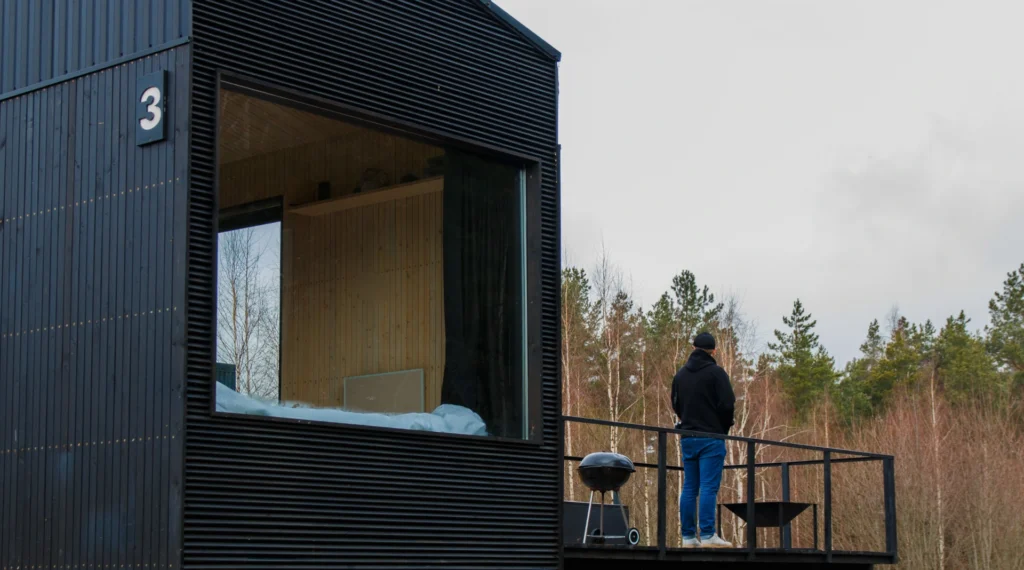
Standard shipping containers stand 8’6″ tall, while high cube containers reach 9’6″. That single extra foot might not sound significant on paper, but it transforms your entire living experience.
Once you account for insulation, flooring, and ceiling finishes, standard containers leave you ducking through doorways and feeling cramped.
Why High Cube Is Worth Every Penny?
The additional height in a high cube container creates room for proper insulation without sacrificing precious headroom. This matters enormously in container construction, where every inch counts. Without adequate ceiling space, your home risks looking “strangely Hobbitish,” as one builder aptly described it.
According to interviews with dozens of homeowners who’ve completed container projects, buying a standard-height container instead of a high-cube is the most common regret.
The financial impact makes this mistake particularly frustrating—high-cube containers typically cost only $1,000 more than standard units, yet attempting to modify a short container later can run thousands of dollars, with no guarantee of success.
Container Dimensions For Comfortable Living
After installing spray foam insulation (typically 2-4 inches), interior framing, and finished ceilings, the 8’6″ shrinks dramatically. High cube containers give you breathing room—literally.
They accommodate standard door heights, allow for recessed lighting, and create spaces that feel genuinely livable rather than claustrophobic.
For most residential container home projects, high cube containers aren’t just recommended—they’re essential. That modest upfront investment pays dividends in comfort, resale value, and living satisfaction for years to come.
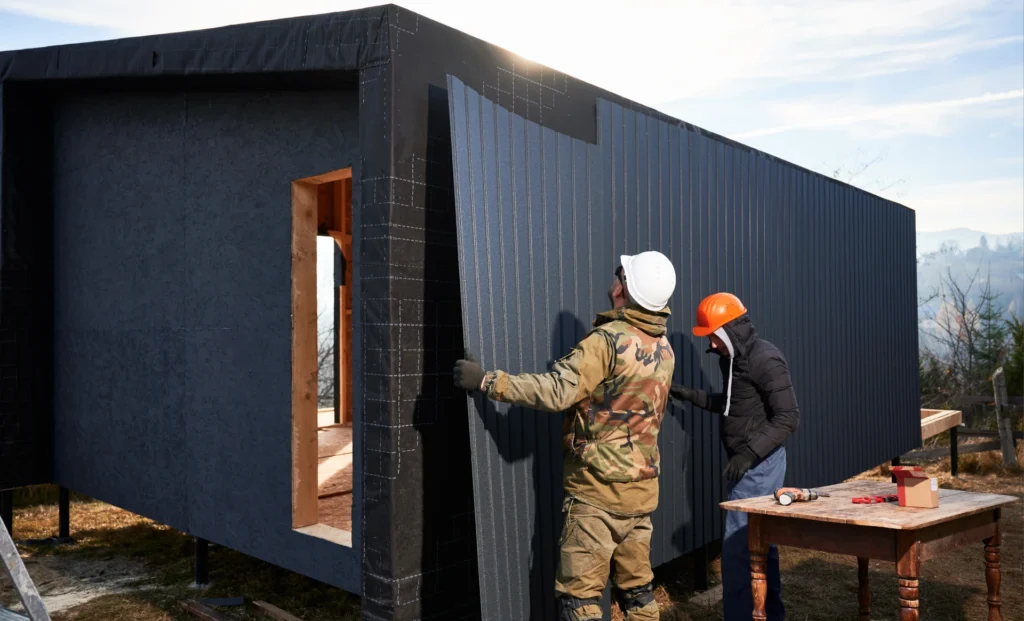
#4. Mistake #3 – Cutting Walls Without Engineering Help

Many container home builders learn this lesson the hard way: slicing into your shipping container without proper engineering transforms a structurally sound box into a liability.
What seems like a straightforward modification can lead to dangerous structural failures that cost thousands to repair.
Understanding Container Structural Integrity

Shipping containers derive their remarkable strength from their corner posts, not their walls or roof panels. These corner castings handle the entire load when containers stack nine high on cargo ships.
The corrugated steel walls and roof provide lateral stability, but they’re not load-bearing in the traditional sense.
This design reality catches many DIY builders off guard. Engineers consistently confirm that containers excel when stacked normally, corner-to-corner, but become structurally compromised when modified.
Remove a wall section without proper support, and you’ll quickly notice roofs beginning to sag and floors developing a disturbing spring-like bounce.
The Real Cost of Cutting Corners

Consider what happens when you remove an entire side wall to create an open floor plan. That eliminated wall previously braced the corner posts where walls meet. Without it, you must install substantial post support to prevent collapse.
Similarly, stacking containers at 90 degrees rather than corner to corner requires substantial structural reinforcement because the weight no longer transfers through the corner posts as designed.
These aren’t minor fixes. Steel reinforcement beams can add thousands to your budget, and that’s assuming you catch the problem before it worsens.
Why You Need Professional Engineering?

Structural engineers don’t just rubber-stamp your plans; they design complete interior support systems using strategically placed lumber and plywood that meet local building codes.
They calculate load paths, determine where cutting is feasible, and specify exactly what reinforcement each modification requires.
This expertise proves especially critical for multi-story designs. The leap in difficulty from working with one container to stacking several with wall openings is not gradual, but exponential.
The engineering fees feel expensive upfront, but they’re minimal compared to rebuilding a poorly supported structure or, worse, dealing with a catastrophic failure.
Before making that first cut, invest in professional structural analysis. Your container’s integrity and your family’s safety depend on understanding forces you can’t see but definitely can’t ignore.
#5. Mistake #4 – Ignoring the Condensation Problem
One of the most overlooked but serious issues in container homes is condensation. If not properly managed, it can lead to rust, mildew, structural damage, and even health risks like asthma and mold exposure.
Understanding the root causes of container condensation and addressing them through insulation and ventilation is crucial to maintaining a healthy, durable living space.
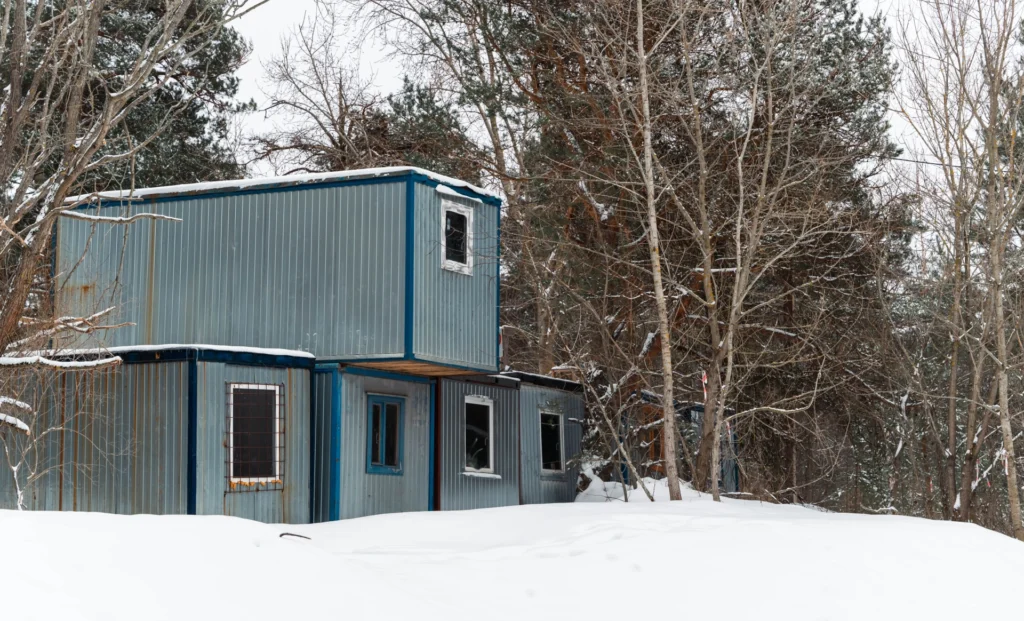
Condensation forms when warm, moist air inside the container comes into contact with the cold metal walls and ceiling. Since steel conducts temperature very quickly, container walls often take on the outside air temperature.
In colder seasons, this causes internal moisture to condense on the walls and roof—sometimes even creating icicles that melt and drip once the sun warms the container. Without intervention, this repeated cycle leads to water damage and persistent moisture problems.
One common mistake in trying to solve this issue is relying solely on internal insulation. While insulation is essential, doing it improperly, such as using spray foam without understanding its limitations, can be problematic.
The EPA has identified health hazards associated with certain spray foam products, including potential triggers for asthma and lung damage. Moreover, placing a vapor barrier on the wrong side of insulation can trap moisture inside walls, accelerating mold growth rather than preventing it.
The most effective way to combat container condensation is a multi-layered approach. First, external insulation is highly recommended. It prevents the steel walls from becoming cold in the first place, thereby reducing the risk of internal condensation.
Pair this with proper ventilation, such as passive vents or mechanical systems, to ensure moist air doesn’t build up indoors. In humid climates, dehumidifiers are often necessary to control indoor humidity levels year-round.
Ignoring condensation issues can undermine your entire container project. But by understanding how temperature, humidity, and material choices interact and by prioritizing insulation, ventilation, and moisture control, you can avoid this costly and unhealthy mistake.
#6. Mistake #5 – Underestimating Insulation Costs
One of the biggest mistakes people make when building a container home is underestimating the cost and complexity of container insulation. While steel shipping containers are affordable and durable, they are also extremely poor at thermal regulation.
In their raw, unfinished state, containers become unbearably hot in the summer and cold in the winter—making insulation an absolute necessity.
Unlike traditional homes, container walls have limited depth, which poses challenges when choosing how to insulate. Options like batt insulation or rigid foam board are effective but take up valuable interior space.
The most popular method is spray foam insulation, which offers excellent energy efficiency and serves as a moisture and air barrier. However, it’s also one of the most expensive options, often surprising first-time builders with how much it adds to the overall budget.
Because steel is a highly conductive material, heating and cooling a container without proper insulation can lead to enormous energy costs over time.
Investing in the right insulation may seem costly upfront, but it drastically improves comfort and long-term savings by reducing reliance on HVAC systems.
There are four main ways to insulate a container home: spray foam, blanket insulation, rigid foam panels, and eco-friendly options like wool or cork. Each has its pros and cons, but all require careful planning to balance thermal performance with space and cost.
When budgeting for your container home, don’t overlook insulation. It’s not just about comfort—it’s about making your home livable, efficient, and sustainable in the long run.
#7. Mistake #6 – Hiring the Wrong Contractor

Building a shipping container home is a unique project that demands specialized knowledge, and hiring the wrong container home builder can derail your timeline, inflate your budget, and compromise the quality of the final product.
One of the most common mistakes is choosing a general contractor without experience in container construction or, at the very least, a strong willingness to learn its intricacies.
Container construction involves very different techniques compared to traditional homes, from cutting and reinforcing steel walls to handling insulation and moisture control. Since container building expertise is still relatively rare, it’s essential to vet your contractor thoroughly. Ask for examples of past container projects or a detailed plan on how they’ll approach yours.
Equally important is alignment between the three key players: the owner, architect, and experienced contractor. If even one party is out of sync, the entire project can suffer. Clear communication and shared understanding of container-specific challenges are crucial for a successful build.
Another smart move is to hire a single contractor or firm that can oversee the entire process—from permitting and site prep to final finishes. Trying to manage multiple subcontractors often leads to miscommunication, delays, and added costs.
A qualified, hands-on contractor streamlines project management, saving you time, money, and stress.
Inexperienced builders may unintentionally cause costly mistakes, such as improper structural modifications or failing to address insulation needs early on.
Avoid this by choosing a contractor who understands the nuances of container homes—or is eager to learn them under expert guidance. Your dream home depends on it.
#8. Mistake #7 – Overlooking Hidden Health Hazards

When converting a shipping container into a home, many people focus on design and budget, but overlook the serious health hazards that can pose long-term risks.
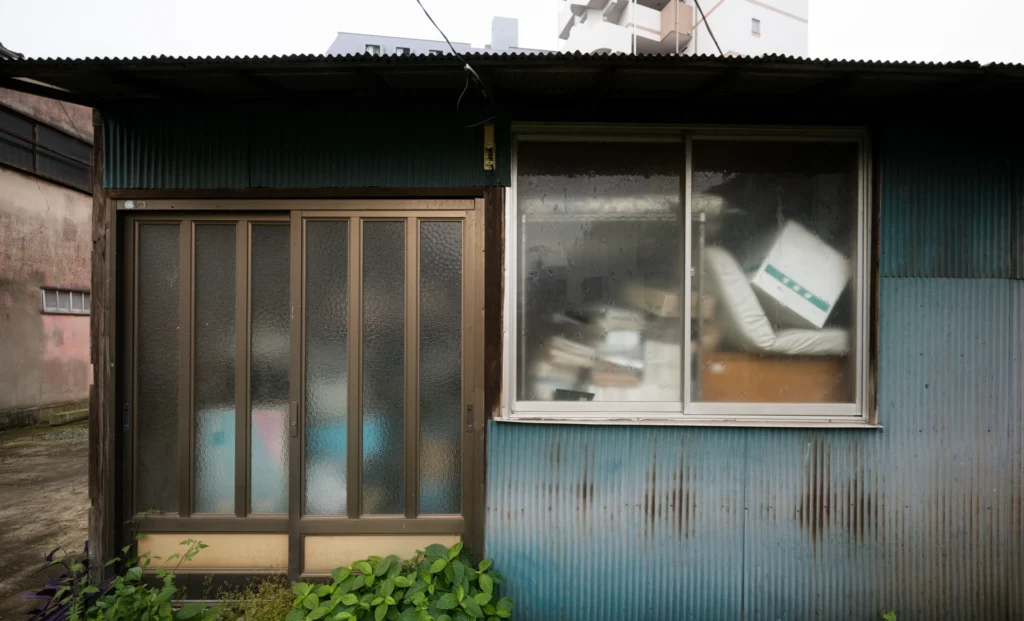
Shipping containers are not originally built for human habitation. They’re often treated with toxic chemicals like pesticides and anti-corrosive agents to withstand harsh conditions at sea.
Additionally, many containers are coated in industrial paints containing heavy metals and other hazardous compounds.
These coatings are designed to endure extreme environments, not to be safe for indoor living. If not properly removed or sealed, these chemicals can leach into your home’s interior, contaminating the air you breathe.
Used containers add another layer of concern. Many have transported hazardous materials, leaving behind chemical residues that are difficult to detect but potentially harmful. Without proper treatment, these contaminants can compromise the safety of your home.
Even modern materials, such as spray foam insulation, can contribute to poor indoor air quality. Spray foam, while excellent for energy efficiency, can trap volatile organic compounds (VOCs)—gases emitted by certain materials that may cause headaches, respiratory irritation.
To avoid these risks, always source containers from reputable suppliers, ensure proper chemical treatment, and choose non-toxic materials during the build. Ignoring these hazards can turn your container dream home into a long-term health concern.
#9. Mistake #8 – Assuming Easy Financing

One of the biggest misconceptions about building a container home is assuming that financing will be as simple as getting a traditional mortgage. In reality, container home financing can be complicated and often faces multiple roadblocks.
Many banks and major lenders hesitate to offer mortgages on container homes because they’re classified as mobile or non-traditional structures. According to Architect Magazine, lenders typically require the home to be fixed on a permanent foundation and have all wheels or mobile components removed before considering a loan application.
Even then, approval isn’t guaranteed because the construction type doesn’t fit standard underwriting models.
Insurance adds another layer of difficulty. How Much Does a Container Home Cost? Highlights, container homes’ unique materials and modular design make it hard for traditional insurers to assess replacement costs or structural risks.
This means you may need to work with an independent insurance broker who specializes in alternative housing.
Because of these hurdles, many buyers end up facing mortgage problems, higher interest rates, or even cash-only purchases.
Before starting your project, it’s wise to research local lending rules, talk to multiple banks, and budget for alternative financing methods such as personal loans or home equity lines of credit.
#10. Mistake #9 – Forgetting Site Preparation Costs
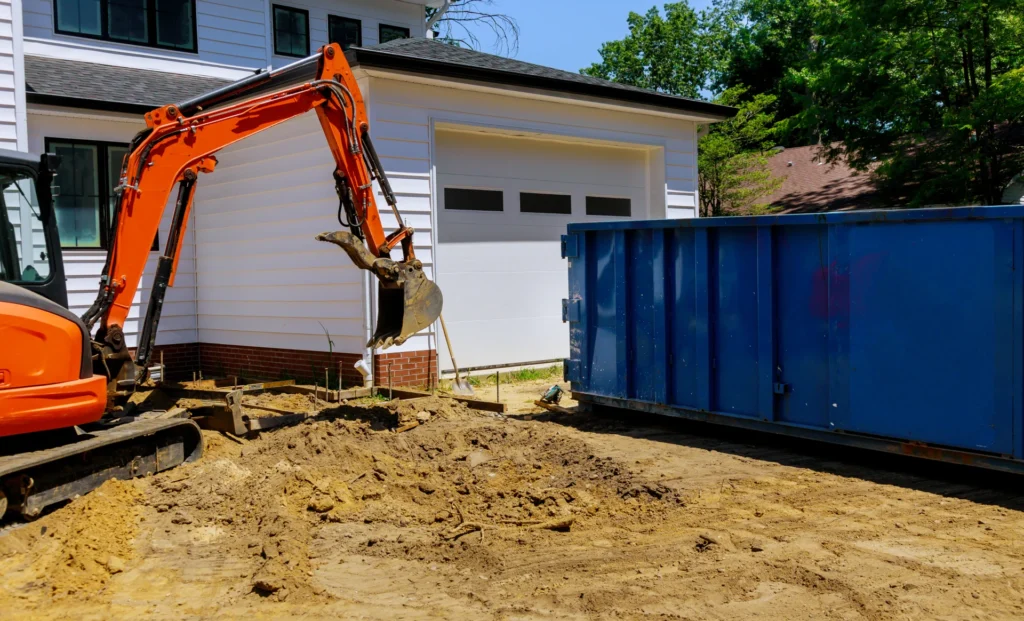
When budgeting for a container home, many first-time builders focus on materials and interior finishes; site preparation can quietly drain thousands before construction even begins.
These essential groundwork steps ensure your home is safe, level, and compliant with local regulations, yet they’re often underestimated.
According to Onestopimport’s 2025 data, land clearing and foundation work typically cost between $5,000 and $10,000, depending on the terrain and soil type. Before that, a land survey, essential for verifying boundaries and planning utility layouts, adds another $200 to $1,200.
Excavation for the foundation or septic system can add $2,500 to $9,000, while installing a water main may run $32 to $53 per linear foot. If your location isn’t connected to municipal sewage, a septic system can cost an additional $3,500 to $8,500.
Together, these hidden expenses can easily surpass the cost of one or two shipping containers.
Ignoring these foundation costs and utility connections can stall your project midway or force costly design compromises.
To stay on track, request multiple quotes from local contractors, verify soil conditions before purchase, and budget generously for unforeseen ground issues. Planning your site work early ensures your container home stands on solid and affordable ground.
How to Beat the Odds: Your Action Plan

Building a container home isn’t just a design challenge; it’s a test of planning, patience, and budgeting. To ensure container home success, follow this practical building checklist for smoother project planning and fewer surprises.
Pre-Purchase Research

Research local zoning laws before buying containers. Confirm container homes are allowed in your area.
Contact your local building department and get all permit requirements in writing to avoid mid-project delays. Test used containers for chemical contamination or rust damage before purchase.
Hire a licensed structural engineer for any wall or roof modifications to maintain structural Choose “high cube” containers (9.5 ft tall) from reputable suppliers for more interior headroom and easier insulation.
Plan your insulation strategy according to your climate: closed-cell spray foam for humid regions, rigid foam boards for dry climates.
Budgeting & Financing

Secure financing early, as container homes often face stricter mortgage conditions or higher interest rates.
Budget at least 200% of your initial estimate to cover material price changes, foundation work, and custom installations.
Build a contingency fund (10–20% of total cost) for unexpected site or labor expenses.
Construction & Contractor Selection
Hire a contractor experienced specifically with shipping containers; traditional builders may not understand steel welding, modification, or ventilation needs.
Confirm that all utility connections (water, electricity, septic) are planned before containers are delivered. Schedule regular inspections during construction to ensure compliance and quality.
Study
Voice
Sonnet 4.5
Sonnet 4.5